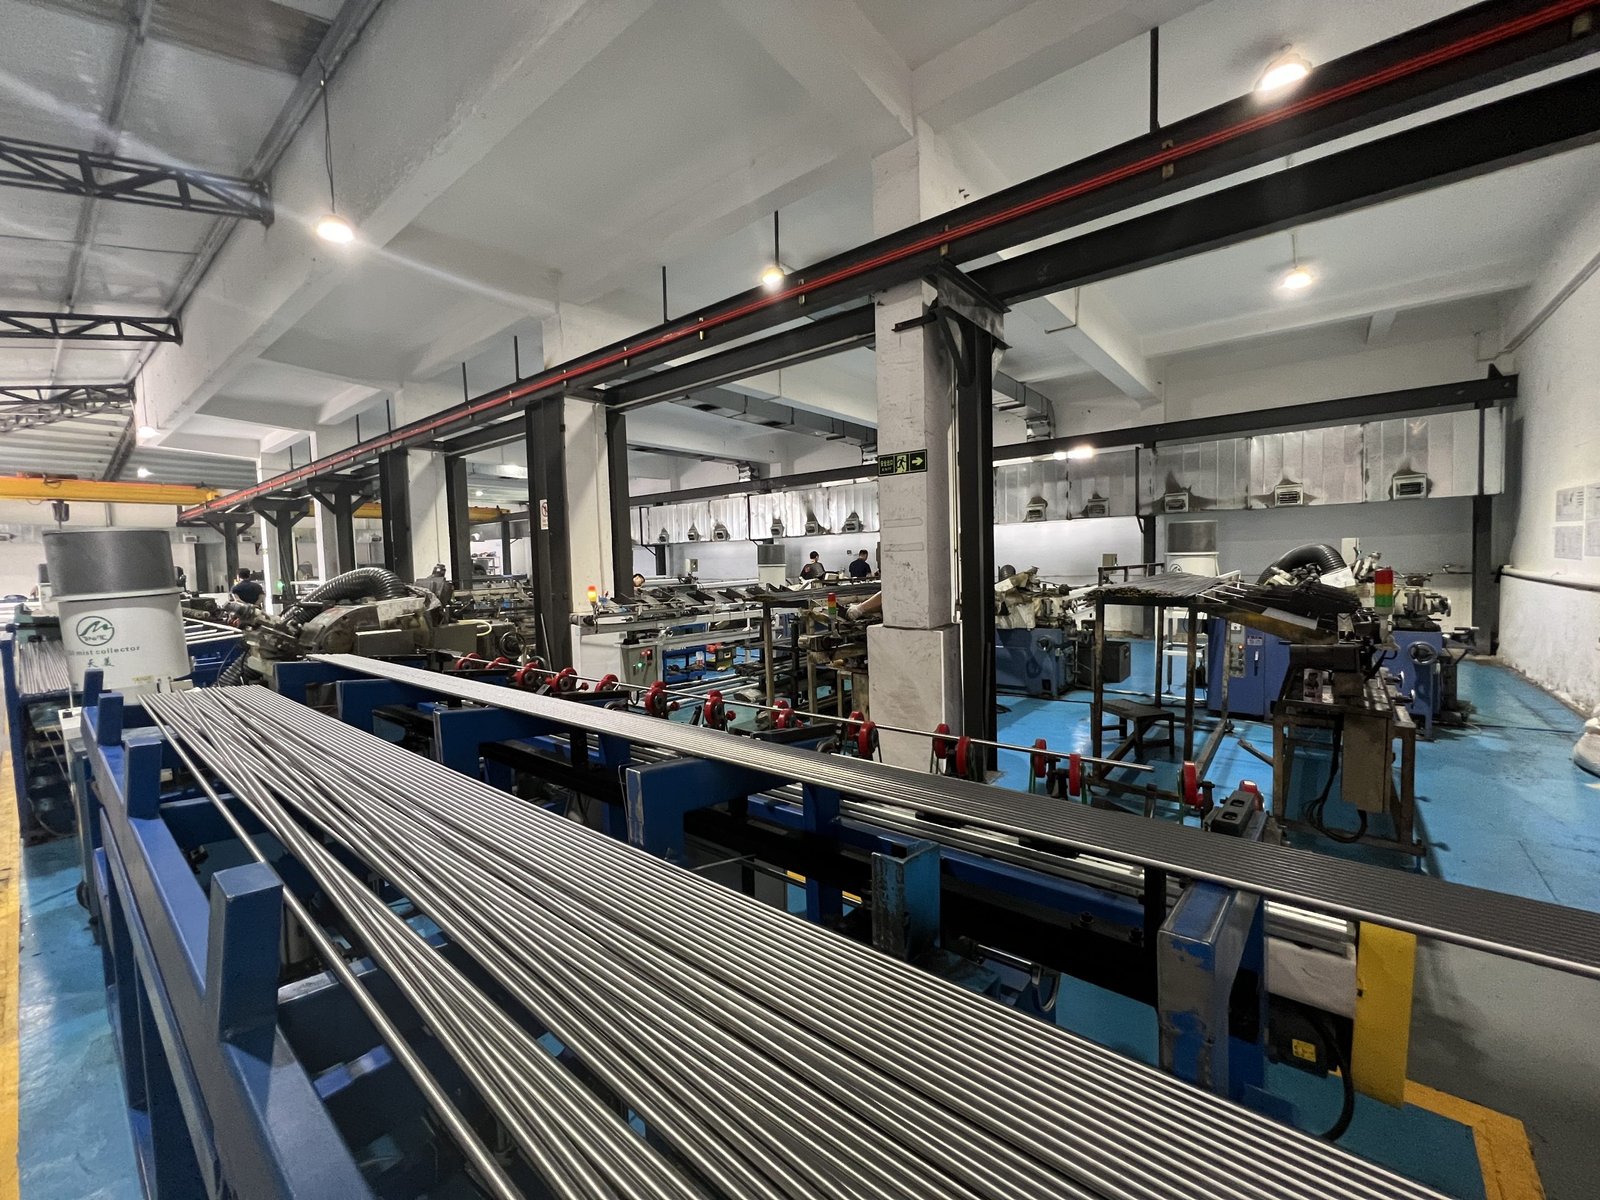
The mechanical processing department of petrochemical units needs to conduct ultrasonic non-destructive testing on semi-finished stainless steel bars when producing pressure components such as pressure melt shells and micro reactor joints. The previous flaw detection method was to cut the stainless steel bars provided by the supplier into suitable small sections, with rough outer circles and flat ends; After passing the appearance inspection, use a straight probe to conduct the inspection from the contact method of the two end planes of the cylinder, and use a straight probe circumferential and longitudinal water immersion method to conduct the inspection on the curved surface of the cylinder. By doing so, the problem of the limitation of the length of the water tank in the water immersion method on the length of the tested material has been solved. However, this testing method has become destructive for stainless steel rod raw materials. After detecting defects, it is difficult to return or exchange, wasting materials, increasing processing costs, and causing losses to our unit. On the other hand, the result of this method of testing is that using a straight probe contact method to detect defects from the two end faces of a cylinder is rarely found. For semi-finished products that have undergone a “comprehensive” inspection, individual longitudinal cracks often occur during pressure testing and use.
However, the wire rod petrochemical machinery processing department generally only needs to use the oblique probe contact method to conduct circumferential inspection of stainless steel rod raw materials along the circular surface in both clockwise and counterclockwise directions, in order to discover defects buried on the surface and near the surface of the raw material. The use of ultrasonic non-destructive testing is lightweight, flexible, able to quickly detect defects, accurately locate, and can be used for on-site inspection. On simple tooling, the entire piece or section of raw material can be inspected to roughly determine its overall quality. If problems are found, materials can be returned and replaced in a timely manner, achieving selective material procurement, greatly reducing production costs and material waste.


